
How to Change Furnace Filter in 7 Simple Steps
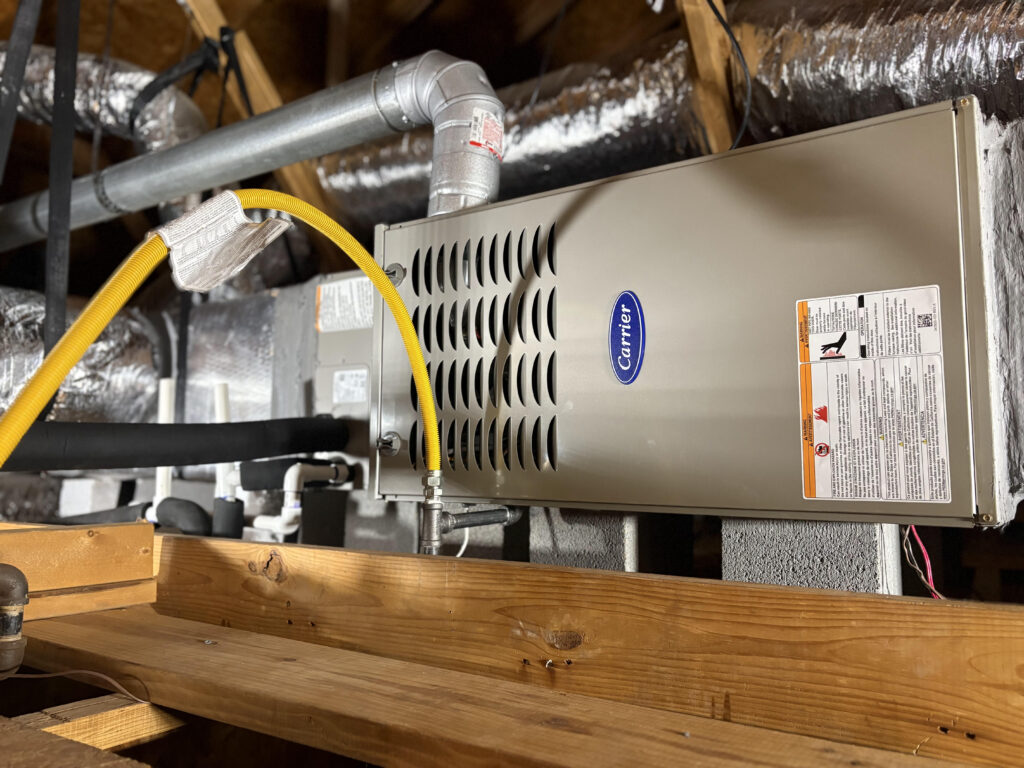
A furnace filter is easy to overlook until your home feels dusty, airflow seems weak, or the system starts working harder than it should. Knowing how to change furnace filter is one of the simplest ways to protect your heating and cooling equipment, improve indoor air quality, and help keep energy costs under control.
For homeowners in Georgetown and nearby Central Texas communities, filter changes matter through every season. Your system may run heavily during hot summers, and cedar pollen, dust, and pet dander can load up a filter faster than expected. The good news is that most homeowners can handle this task in just a few minutes.
Why a Clean Furnace Filter Matters
Your furnace filter does more than catch visible dust. It helps keep dirt, hair, pollen, and other airborne particles from collecting on critical HVAC components. When a filter becomes clogged, your blower has to push air through a restriction. That can reduce comfort, increase strain on the system, and contribute to higher utility bills.
A neglected filter may also lead to uneven temperatures between rooms. You might notice that some vents barely blow air, that your furnace cycles more often, or that your home has more dust than usual. In more serious cases, limited airflow can contribute to overheating and equipment shutdowns.
Changing the filter is not a replacement for professional furnace maintenance, but it is an important part of taking care of your system between service visits.
Before You Change Your Furnace Filter
Start by finding the correct replacement. The size is usually printed along the edge of the old filter, such as 16 x 20 x 1 or 20 x 25 x 4. Write down the dimensions before throwing the old one away. Filter sizes can be confusing because the actual measurement may be slightly smaller than the labeled size, so buying the same labeled size is generally the safest choice. Standard disposable filters are easy to find at hardware and home-improvement stores.
You should also check the filter’s MERV rating. MERV measures how effectively a filter captures particles. A higher rating can trap smaller particles, but it can also restrict airflow if your HVAC system is not designed for it.
For many homes, a MERV 8 filter provides a practical balance between filtration and airflow. Homes with pets, allergy concerns, or more dust may benefit from MERV 11. Very high MERV ratings are not automatically better. If the filter is too restrictive for your system, it can create the same airflow problems as a dirty filter. When in doubt, follow your equipment manufacturer’s recommendation or ask an HVAC technician during maintenance.
How to Change Furnace Filter Safely
The process is straightforward, but taking a few basic precautions helps you avoid installing the filter backward or using the wrong location.
1. Turn off the HVAC system
Set the thermostat to Off before removing the filter. This prevents the system from pulling loose dust into the equipment while the filter compartment is open. You do not usually need to shut off power at the breaker for a routine filter change, but the system should not be actively running.
2. Find the filter compartment
In many homes, the filter sits behind a return-air grille inside the house. Look for a large wall or ceiling grille that pulls air in rather than blows air out. Other systems hold the filter at the furnace or air handler itself, often in a narrow slot near the blower compartment.
If you have a heat pump, you may still hear it called a furnace filter. The filter serves the indoor air handler in the same way, regardless of whether your home is heated by a gas furnace or heat pump.
3. Slide out the old filter
Open the grille or access panel, then carefully pull out the old filter. Notice how it is positioned before removing it completely. If it is covered in gray dust, pet hair, or debris, it is ready to be replaced.
Do not try to wash and reuse a standard disposable pleated filter. Washing can damage the filter material and reduce its ability to capture particles. Only reusable filters specifically labeled as washable should be cleaned and reinstalled.
4. Check the airflow arrow
Every filter has an arrow printed on its frame. The arrow must point in the direction air is traveling through the system.
If the filter is behind a return grille, the arrow should point toward the ductwork or toward the equipment. If the filter goes into the furnace or air handler cabinet, the arrow should point toward the blower. In simple terms, air flows from your home into the return duct, through the filter, and then toward the indoor unit.
Installing a filter backward will not usually cause an immediate breakdown, but it can reduce filtration performance and may cause the filter to bend or collapse under pressure.
5. Install the new filter
Slide the new filter into the slot with the airflow arrow facing the correct direction. It should fit snugly without being forced. If it is too large, too small, or buckles when installed, double-check the dimensions and filter location.
Close the grille or access panel securely. A loose panel can allow unfiltered air to bypass the filter, which defeats the purpose of changing it.
6. Turn the system back on
Set the thermostat back to your normal heating or cooling setting. Listen briefly for unusual rattling or whistling sounds. If the system runs normally and airflow feels consistent at the vents, you are finished.
7. Record the replacement date
Put the next change date on your calendar, write it on the filter frame, or set a phone reminder. This small step prevents a filter change from becoming another household task that slips through the cracks.
How Often Should You Replace It?
The right schedule depends on your home, the type of filter, and how often your HVAC system runs. A one-inch filter commonly needs replacement every 30 to 90 days. Thicker media filters may last six months or longer, but you should still inspect them regularly.
If you are interested in better whole-home filtration than a standard one-inch filter, Neal HVAC installs the Honeywell Whole Home Media Filter as an add-on for $500 installed. Otherwise, a standard filter from the store, changed on schedule, is all most homes need.
Change the filter more often if you have multiple pets, smoke indoors, have allergy-sensitive family members, live near construction or unpaved areas, or run your system most of the day. Central Texas pollen seasons can also justify more frequent checks.
Rather than relying only on the date, look at the filter once a month. If it looks visibly loaded with dust or has changed from white to gray, replace it. A filter that appears clean but has been installed longer than the manufacturer’s recommended interval should also be changed.
Signs Your Filter May Be Overdue
A dirty filter is not always obvious from a distance. Check it if you notice several of these changes at home:
- Reduced airflow from supply vents
- More dust collecting on furniture and floors
- Hot or cold rooms that were previously comfortable
- Higher-than-usual energy bills
- Longer heating or cooling cycles
- A musty smell when the system starts
These symptoms can also point to other issues, including duct leaks, thermostat concerns, blower problems, or an aging system. Replacing the filter is a smart first step, but it is not a cure-all.
When to Call an HVAC Professional
Call for service if a fresh, correctly installed filter does not improve airflow or if your furnace turns on and off repeatedly. You should also contact a technician if you see water around indoor equipment, hear grinding or loud banging sounds, smell burning odors, or cannot locate the filter compartment.
Some homes have unusual filter setups, including filters in ceiling returns, attic air handlers, or cabinet doors with multiple filters. A technician can show you exactly where the filters are and recommend the right type for your equipment. Neal HVAC helps homeowners throughout Georgetown, Round Rock, Hutto, Jarrell, and Leander keep their systems running reliably with straightforward maintenance and repair support.
A clean filter is a small investment in everyday comfort. Check yours today, and if something still does not feel right after the replacement, getting a trusted local professional involved early can help prevent a minor airflow issue from becoming a larger repair.